How Do You Trim a Cat's Claws Without Hurting Them?
Trimming without hurting a cat means taking only the clear hooked tip you can identify safely and stopping before the cat struggles. Dark, distorted, painful or overgrown claws are a reason to ask a veterinary professional to show you the safe cutting point.
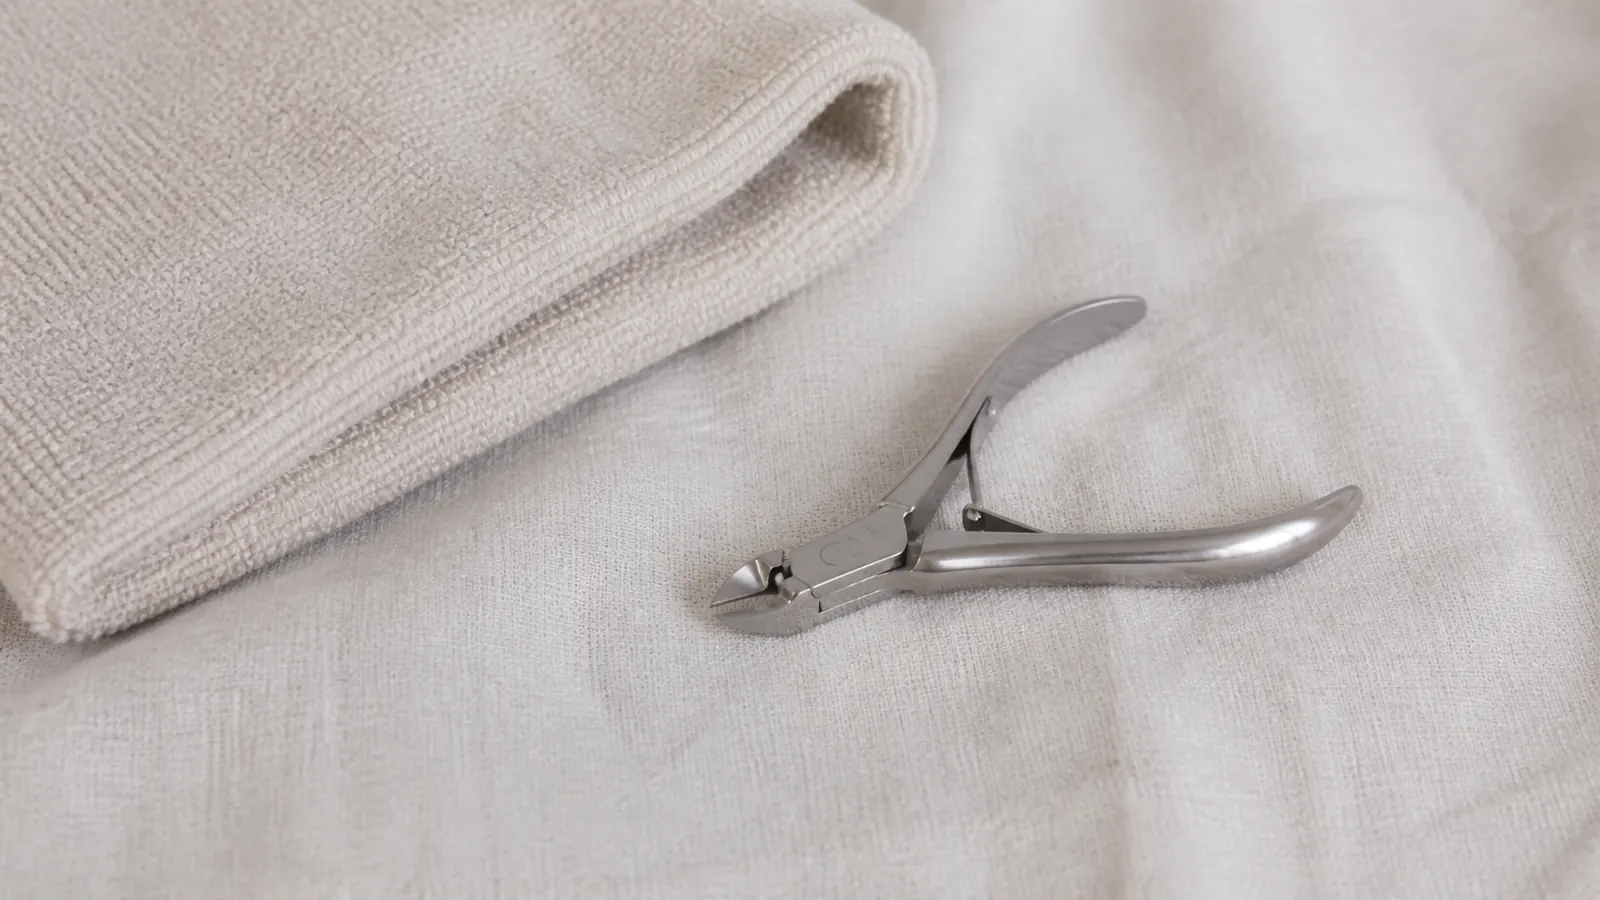
Trimming removes the sharp tip of the claw. It does not declaw, and it does not stop a cat wanting to scratch. Cats still need something to scratch, because scratching stretches the body and marks territory. Trimming simply limits the damage.
Find the quick before you cut
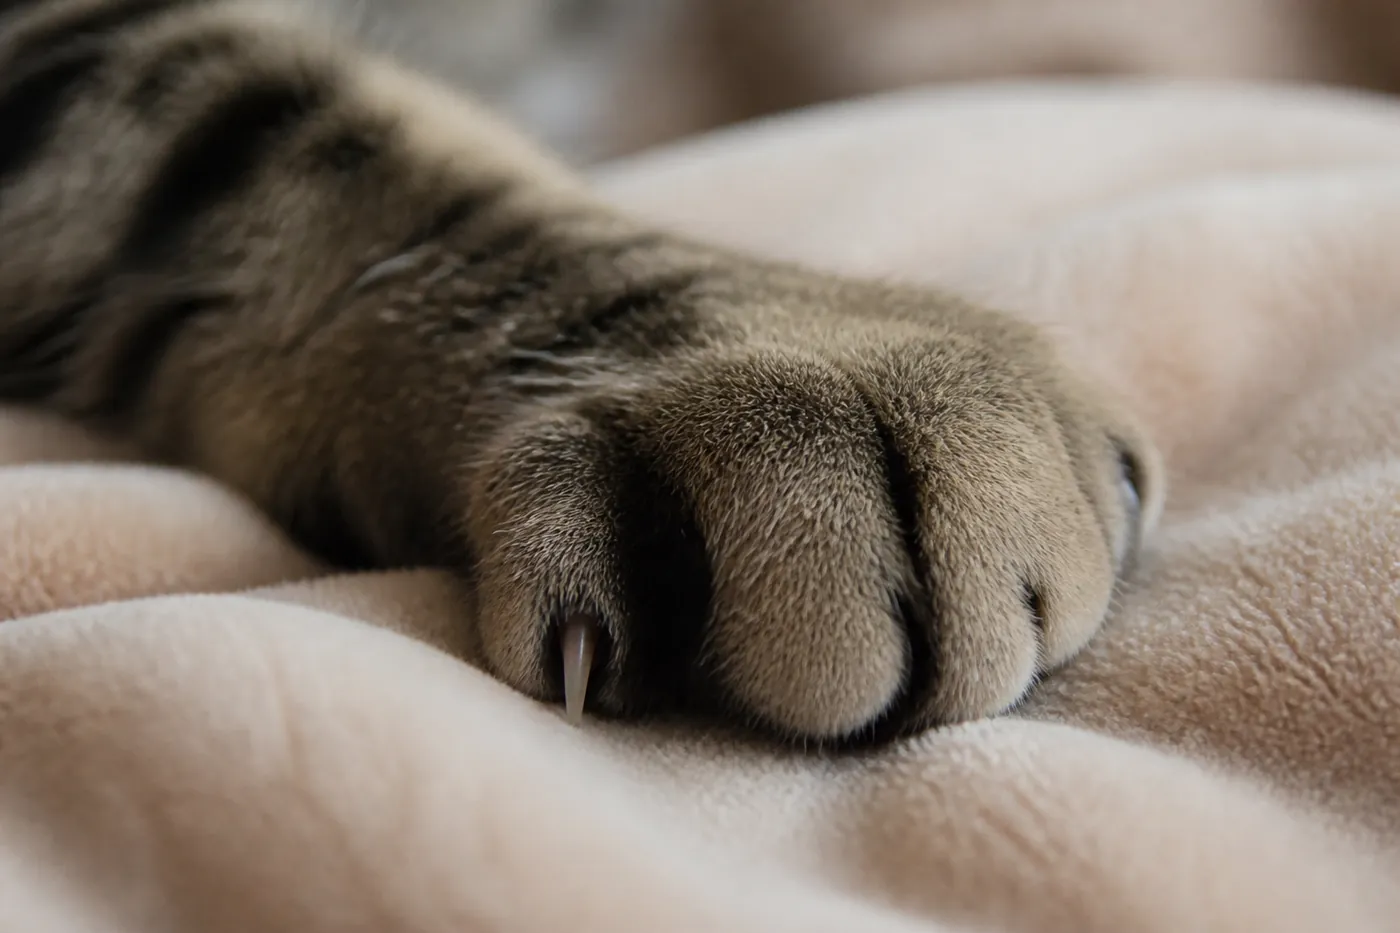
Inside each claw is the quick, the pink wedge of living tissue carrying blood and nerves. It sits inside the curve of the claw rather than running to the tip. On pale claws it is visible as a pink triangle. On dark claws it is not, which is why you take less off.
Leave a visible margin in front of the quick rather than aiming for a fixed number of millimetres. Taking too little can be corrected later, while cutting living tissue hurts and causes bleeding.
An overgrown or distorted claw can make the safe boundary difficult to judge. It may also be close to or already pressing into the pad, so do not try to restore a neglected claw to a preferred length in one sitting. Have the first cut assessed when the claw is markedly overgrown, thickened or misshapen. The follow-up interval then comes from what the vet or nurse can see in that individual claw.
- Pale claws
- The quick is visible as a pink triangle inside the curve
- Dark claws
- Not visible, so take only the part that looks hollow from underneath
- Margin
- Leave visible clear claw in front of the quick rather than using one measurement for every claw
- Overgrown or distorted claws
- Have the safe cutting point and follow-up interval assessed before trying to correct them
Dark claws, and how to work safely
Dark claws hide the boundary rather than moving it. When pigmentation hides the quick, take only a tiny amount from the sharp hooked end, the part that curves and looks hollow from underneath. Do not keep cutting in search of a dot or a particular colour: those cues are not a dependable safety test for every claw.
If you cannot identify a safe place to cut, ask a vet or veterinary nurse to demonstrate. A long, thick or misshapen claw is a reason to get help rather than remove more in one attempt.
Where to sit, and how to hold
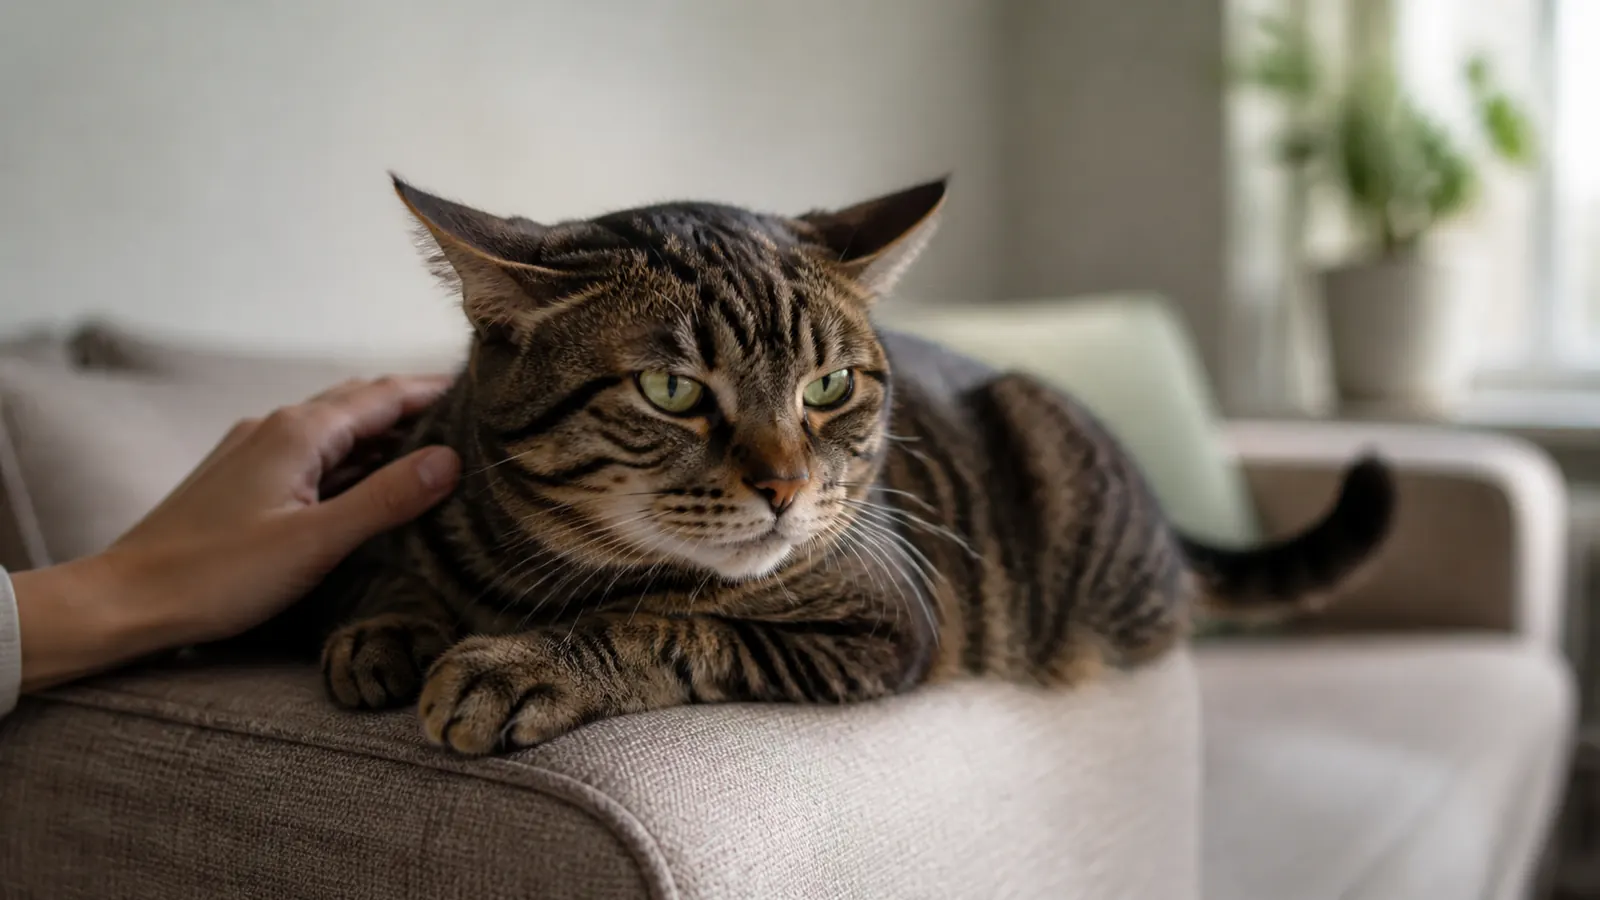
The position decides most of how the session goes, and it is worth setting up before the clippers come out. Sit with the cat facing away from you, either on a lap or beside you on a sofa, so it is not looking at what is happening. A cat held facing a person feels restrained in a way that one leaning back against them does not.
Work with the light behind you and falling onto the paw. On pale claws the quick is easy to see with good light and nearly invisible without it.
Support the paw rather than gripping it. A hand cupped underneath, with one finger on top of the toe, gives all the control needed, and squeezing produces resistance.
Cut across the claw rather than along it. A cut along the length splits the claw into layers, which is uncomfortable and takes weeks to grow out.
Getting the paw out
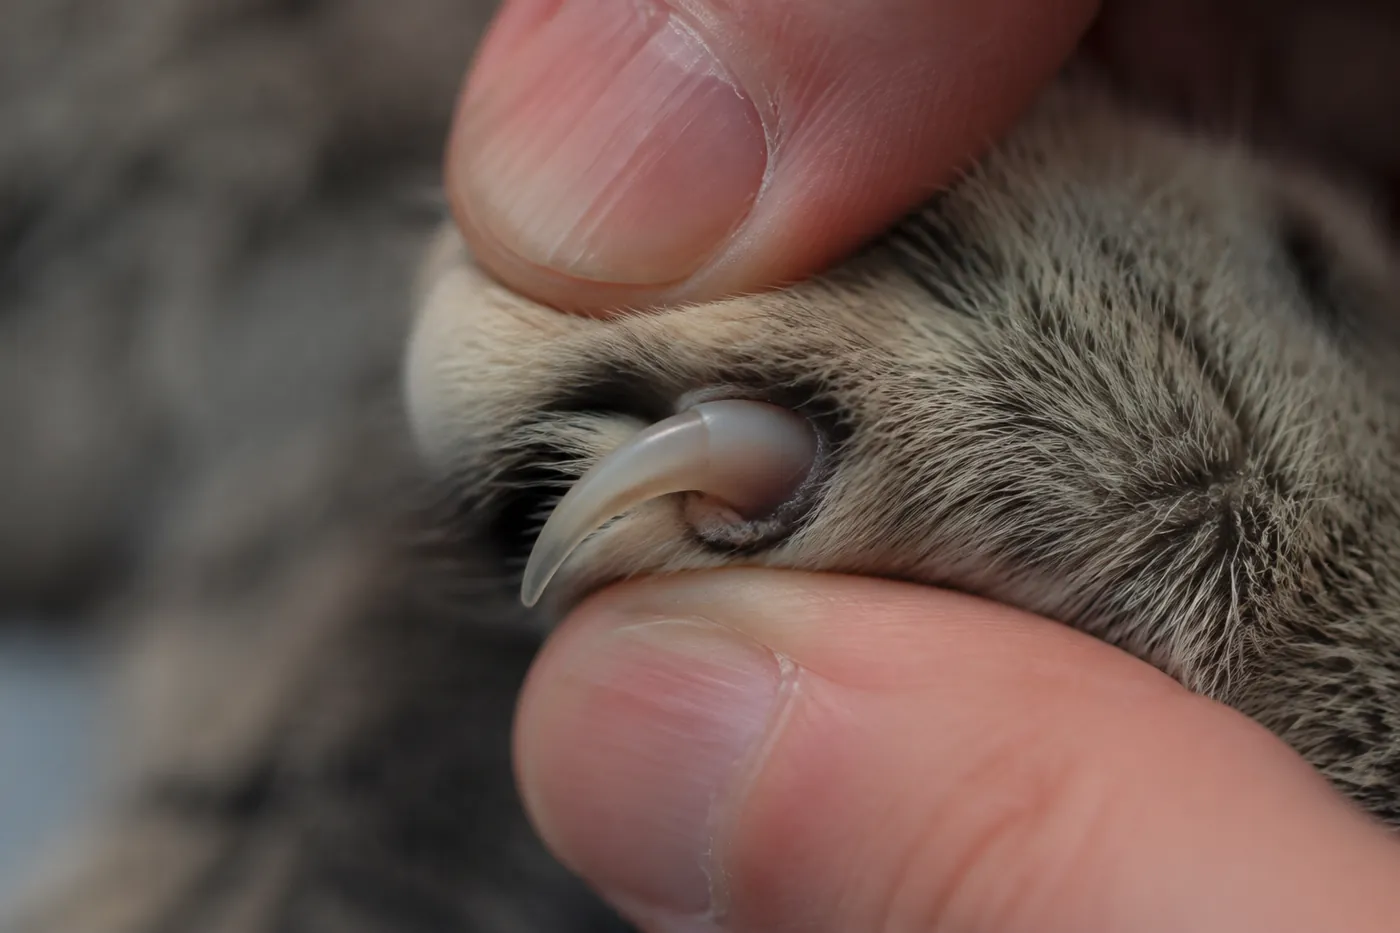
Hold the paw gently and press the top of the toe and the pad together. The claw extends on its own. The pressing works because a cat's claw is retracted by default and extends mechanically. Squeezing the toe pad and the top of the toe together rotates the last bone forward, and the claw comes out without the cat choosing to unsheath it. Very little force is needed. If it takes effort, the grip is in the wrong place, and pressing harder produces a cat that removes its paw rather than a claw that extends further.
Do one claw, then release. Releasing after one claw is a training decision rather than a practical one: the session that ends before the cat objects is the one that makes the next session possible, while restraint that causes distress makes the next attempt harder.
- Wait until the cat is already sleepy, not playful.
- Sit with the cat facing away from you, on your lap or beside you.
- Take one paw, press the toe gently, and let the claw extend.
- Cut the clear tip only, with the clipper across the claw rather than along it.
- Release the paw and stop, even after one claw, if the cat objects.
- Build up only while the cat remains comfortable; several short sessions are acceptable.
Front claws often need closer attention, but inspect every claw including the back feet and dewclaws. Wear, growth and overgrowth risk vary with activity, age and anatomy.
Which tool
- Scissor-type clippers
- Can give good visibility when sized for a cat
- Guillotine-type clippers
- Usable when the claw and quick remain clearly visible
- Human nail clippers
- May split or crush a claw if poorly aligned; use a suitable sharp tool
- Grinder
- Introduce the sound and vibration first; acceptance varies
- Also have ready
- Styptic powder, in case of a nick
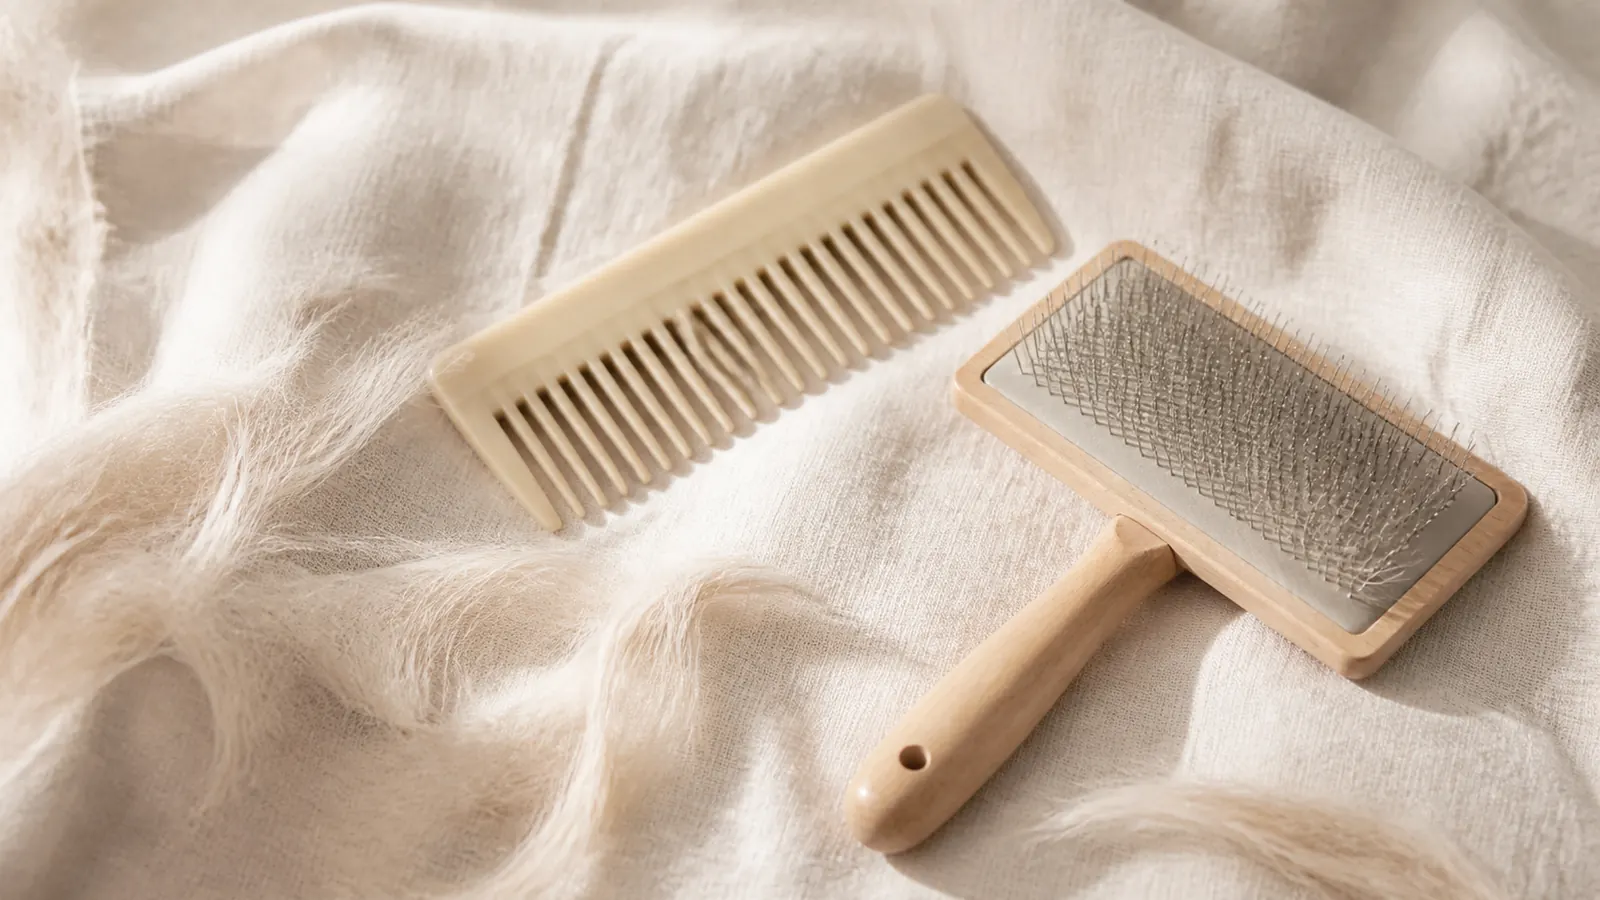
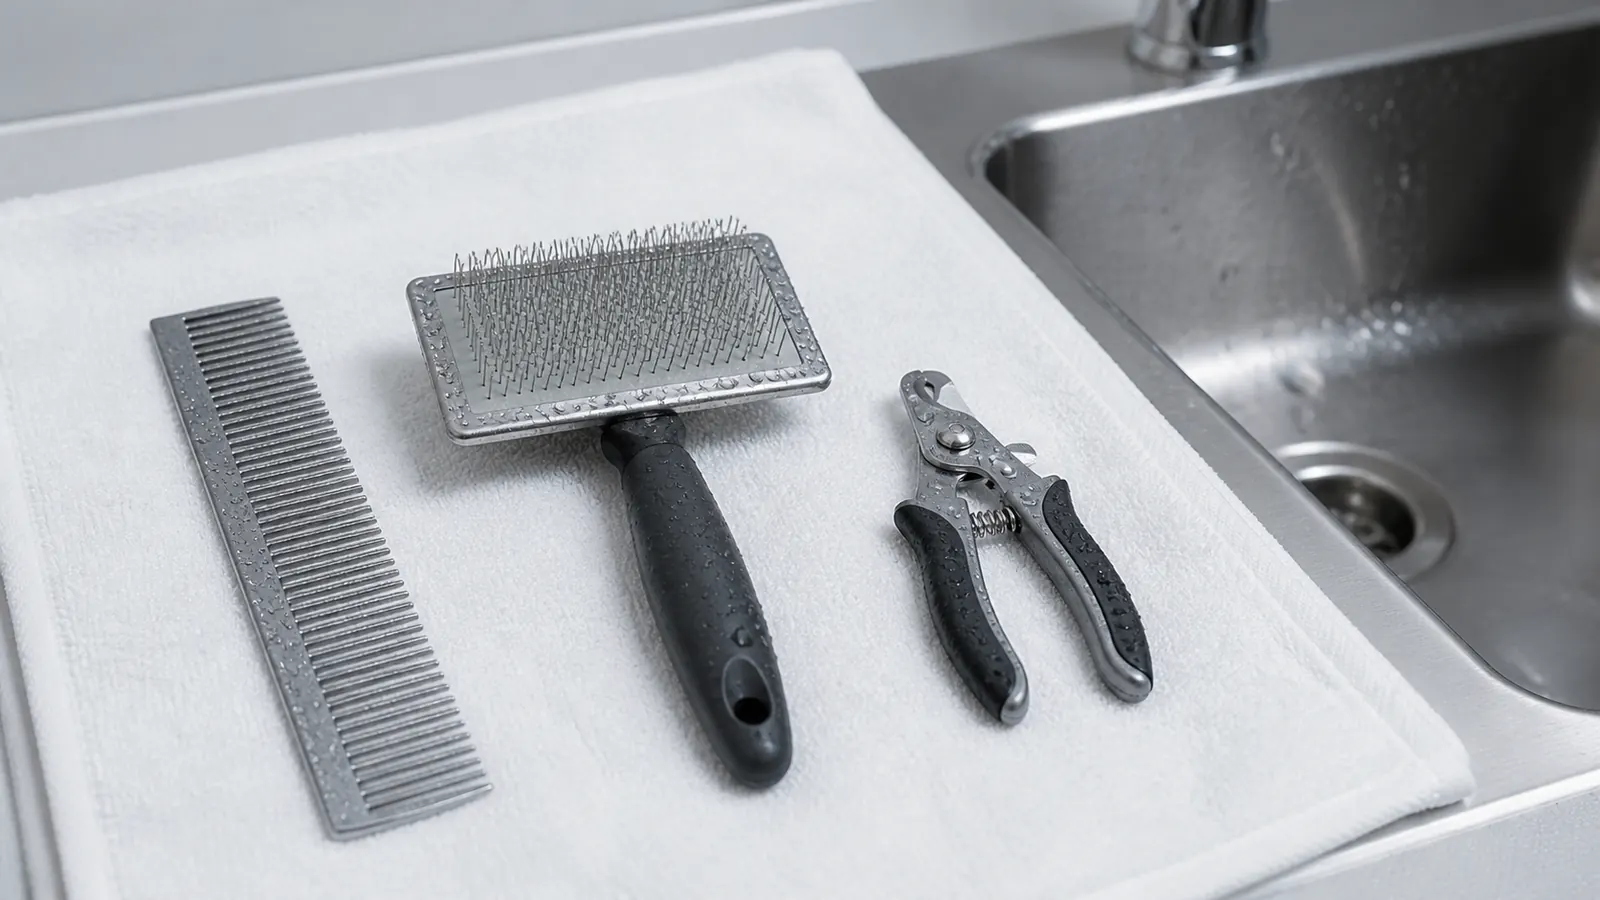
Whichever pair you buy, blunt blades crush before they cut and the cat feels it, which is how a tolerant cat learns to object. They belong with the rest of the grooming kit and want the same wiping down, since claw debris and skin oil dull an edge quickly.
Teaching a cat that objects
A cat that already dislikes having its paws held needs the handling taught before any cutting happens. Each stage below lasts a few days and ends with something the cat likes.
- Touch a paw and release it
- Touch the paw and press gently so a claw extends, then release
- Repeat that with the clippers visible but unused
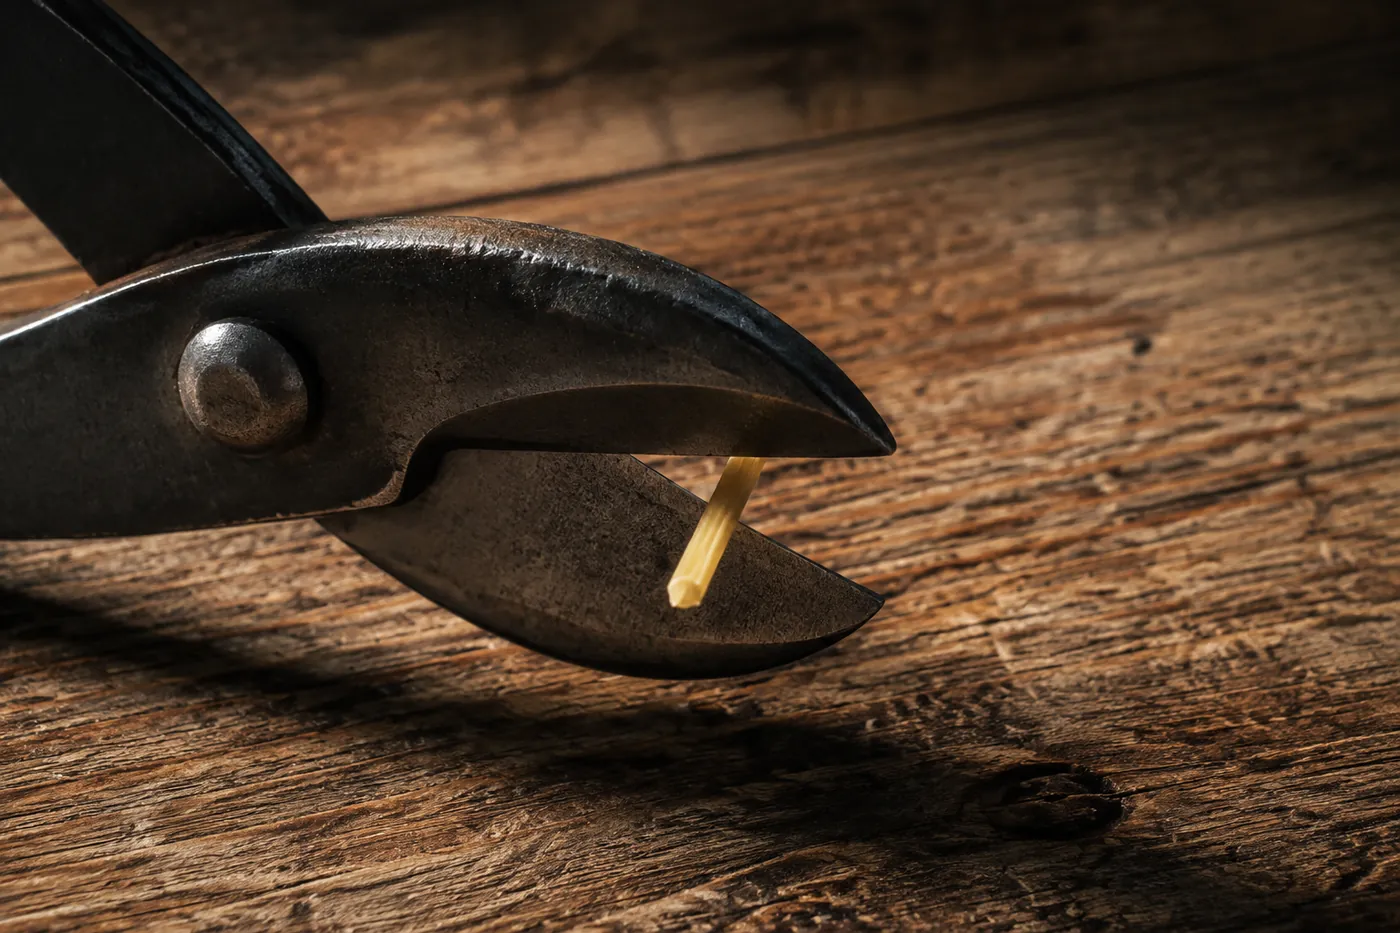
- Let the cat hear the clippers cut something else, such as a dry piece of spaghetti, so the sound is no longer new by the time a claw is cut
The same staged patience applies to a cat that hates being brushed.
A towel wrapped around the body with one leg free helps some cats and infuriates others. Where two people are available, one holding and reassuring while the other cuts is usually calmer than restraint.
Every stage depends on how the session ends. A cat that is released while still calm comes back easier next time, and a cat that is held until it struggles gets harder every attempt.
If you cut the quick
Stop trimming. Use gentle steady pressure and a pet styptic product according to its directions; a little cornflour can help with a minor nick if no styptic is available.
If bleeding is heavy, does not stop promptly or the claw is torn, call the vet. Do not dismiss every bleeding claw as trivial.
Let the cat settle and rebuild comfortable paw handling before another trim.
How often, and how to tell
Frequency varies more between cats than most guidance suggests, and the claw itself tells you. There is no useful universal interval. Indoor living, age, activity, scratching, extra toes and individual growth all change how often a claw needs checking or trimming.
The reliable signal is the tip. A claw that is sharply hooked at the end, that catches when you run a finger past it, or that snags on a jumper is ready. Sound is the other clue: a cat that has become audible on hard flooring, clicking as it walks, has claws long enough that they are touching the ground when they should not be.
Outdoor cats need their claws for climbing and for escaping, so they are trimmed conservatively if at all. Taking a hunting cat's grip away is a real disadvantage to it.
- Indoor adult
- Check for sharp hooks, snagging and contact with the pad; trim only when needed
- Older or inactive cat
- Inspect more closely for thickening, layers and curling
- Kitten
- Practise calm paw handling before a trim is needed
- Outdoor cat
- Discuss the need carefully because claws aid climbing and escape
- Back claws
- Inspect rather than assuming they never need attention
- Dewclaws
- Check separately because ground contact does not wear them
The dewclaw, which everybody forgets
The claw most often missed is the one that causes the most trouble, and it is not on the underside of the foot.
The dewclaw sits higher up the inside of each front leg, roughly where a thumb would be. It is easy to overlook because it sits above the paw rather than in the row of claws, away from the ground, and leg fur covers it.
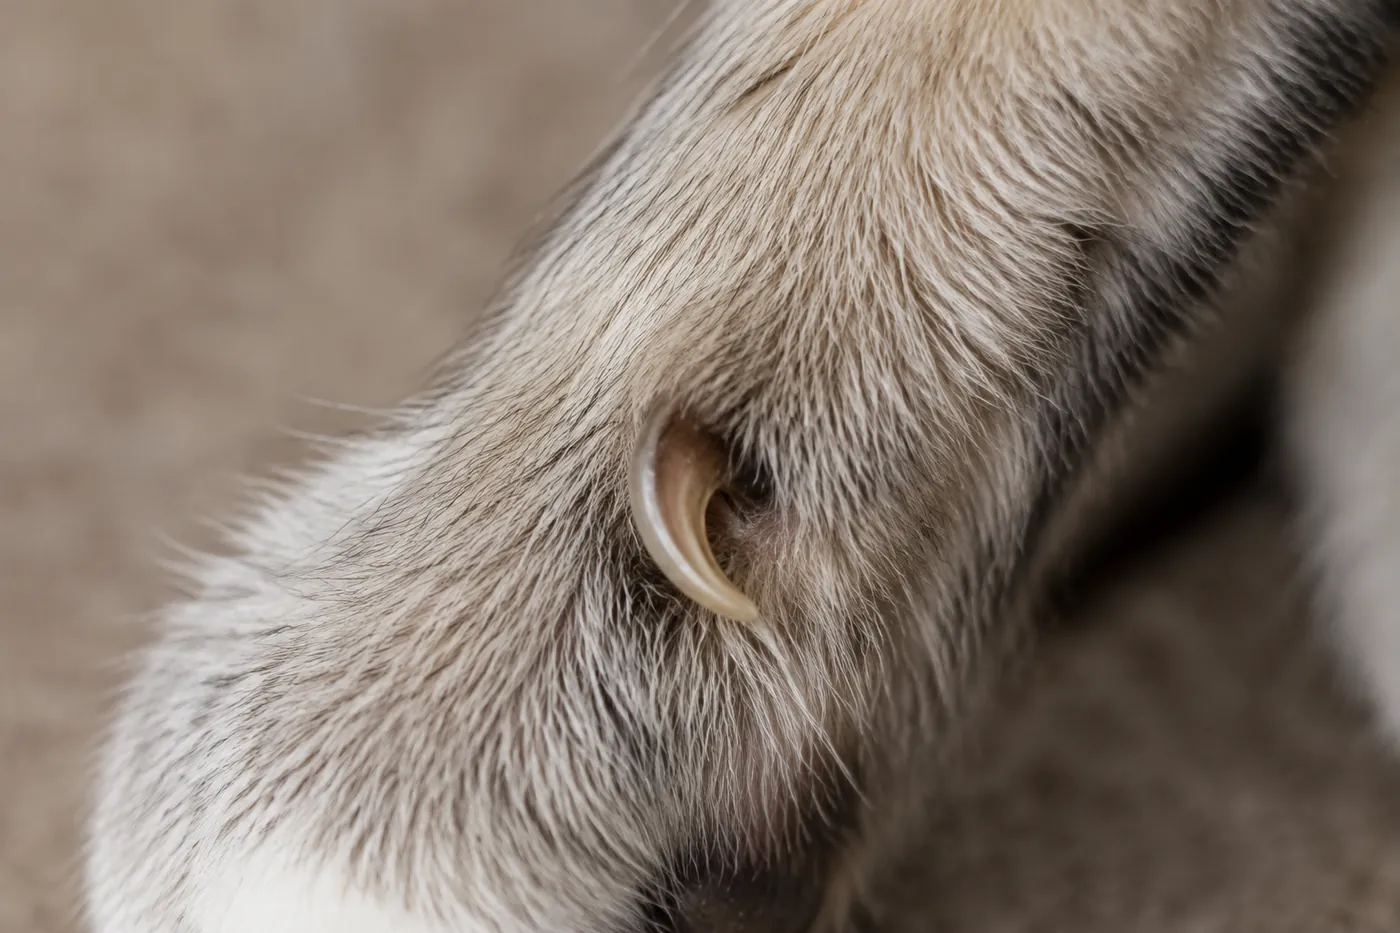
Like the other claws, it can overgrow, curl and injure nearby skin, so both front legs are worth checking individually at every trim rather than assuming normal walking keeps every claw comfortable.
Some cats have extra toes, a harmless trait called polydactyly, and those cats often have additional dewclaws or claws that overlap. Extra claws in a crowded row wear unevenly and need checking more carefully.
Older cats, and claws that have already curled
Claw problems in senior cats are common, under-recognised, and painful. An older cat scratches less, moves less, and grooms less, so the tips are not worn away. At the same time the claw itself thickens and becomes brittle, growing in layers that do not shed cleanly.
The result is a claw that curls further round than a young cat's would and, if left, presses into the pad and then punctures it. That is a wound in a place that stays dirty, and it becomes infected quickly.
An older cat's claws are worth checking regularly by extending each one to look at the tip, because the outside of the paw hides the curl. The veterinary team can set an interval when mobility, thickening or previous overgrowth raises the risk.
A claw already growing into the pad is a veterinary matter rather than a home trim. It needs cutting free, the wound cleaning, and often pain relief and antibiotics.
- Limping, or licking one paw persistently
- A claw that is visibly curled round towards the pad
- Blood or discharge on bedding where the cat sleeps
- Resenting a paw being touched when it never used to
- Thickened, layered, or flaking claws
- Catching claws on carpet or bedding repeatedly
Starting a kitten
A cat that has had its paws handled since kittenhood is a cat that can be trimmed for the next fifteen years without a struggle. Gentle paw handling can begin early, with rewards and the kitten free to stop. Early socialisation helps, but there is no fixed fear-period calendar to schedule around.
A kitten's claws are needle-sharp and grow fast, so there is plenty of opportunity to practise, and cats settle into predictable procedures far better than into occasional ones. Sessions are far easier later if the cat was handled as a kitten, and clicker training can mark and reward each small step of that handling.
- Touch a paw, press gently so a claw extends, release, and give a treat, several times a week from the first weeks at home.
- Do that before there is anything to cut, so the handling is learned separately from the trim.
- Make the first real trim a single claw, then stop.
- Keep the same place, position and order of paws every time.
- Never hold a struggling kitten until the job is finished, because one session like that can cost years.
When you cannot do it at all
Some cats genuinely cannot be trimmed at home, and that is a practical problem rather than a failure. A veterinary nurse appointment may be the simplest answer, and some practices run nurse clinics for claw trims and similar care. Availability and price vary, so ask the practice directly.
A mobile or cat-experienced groomer may be another option for a healthy claw and a cat that can be handled safely. Painful, embedded or abnormal claws belong with a veterinary practice.
For a cat that is severely distressed by handling, a veterinarian may prescribe pre-visit medication after considering the cat's health and other medicines. Use only the prescribed drug and instructions for that cat.
Some cats maintain comfortable claws without frequent trimming, but persistent snagging, overgrowth or pain needs attention, because an untrimmed claw can catch, tear at the base or grow into the pad.
Trimming is not declawing
Declawing removes the last bone of each toe rather than the claw, which makes it an amputation rather than a nail trim. It is illegal or considered unethical across much of Europe and in a growing number of other jurisdictions, and it is associated with lasting pain and with changes in litter tray use and biting.
Where furniture is the concern, the working alternatives are trimming, more and better scratching surfaces, and soft plastic caps glued over the claws by a vet or a groomer. Caps last a few weeks and suit calm cats. They are a cosmetic fix for the damage rather than a substitute for giving the cat something it is allowed to scratch.
Common Questions
How often should a cat's claws be trimmed?
Check the claws regularly and trim only when needed. Growth, activity and health affect timing; older cats may need closer checks for thickened or curling claws. Ask a vet or nurse if you cannot judge the safe tip.
Is trimming claws the same as declawing?
No. Trimming removes the sharp tip and grows back. Declawing is an amputation of the last bone of each toe, and it is banned or considered unethical in many countries.
My cat will not let me near its paws. What now?
Work on brief, rewarded paw contact separately from cutting and stop before distress. Pain or a sudden change in tolerance needs a vet check. Ask a vet or nurse for help if safe handling is not possible.
Checked Against
Published 10 August 2026. Last updated .